about me.
Hi, welcome to modern sequins. A little blog dedicated to 2 of my obsessions, modern design and a closet full of sequins. Enjoy. xo, Myka
also here.


search.
homepage.
contact.

modernsequins

@yahoo.com

Entries in party (11)

Thursday
Dec192013

white like a unicorn.

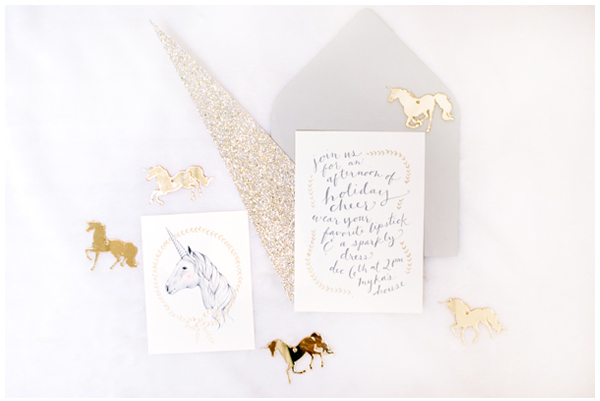
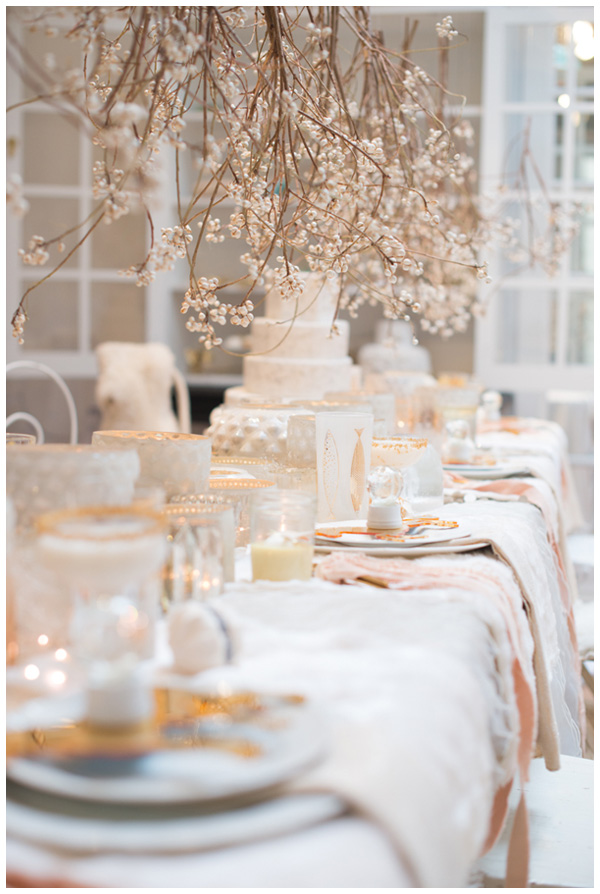
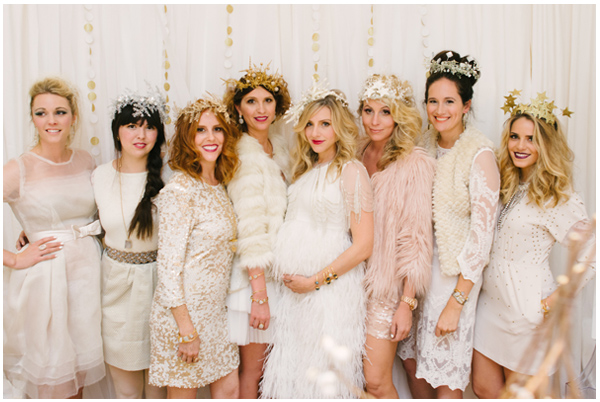
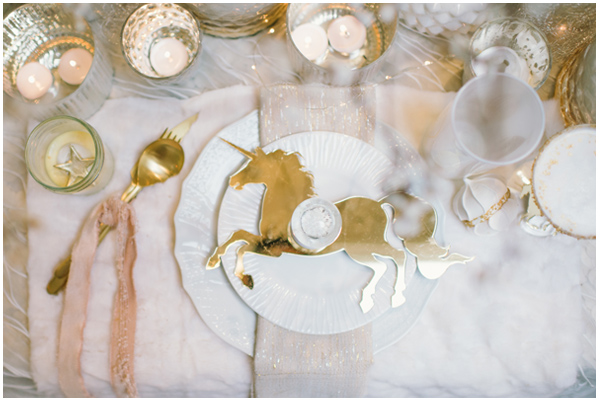
What what, I'm actually blogging again.  Yes, I am back.  Sorry for the radio silence, but I've been a bit busy over here.  I am so excited to share some projects that I have been working on.  First off, is this amazing shoot I styled along with Tori for Glitter Guide!  We kind of went completely over the top and created this whimisical wonderland filled with lots of texture and you know, some sparkly unicorns.  I mean, it's pretty much what our glittery dreams are made of.  Check out more on Glitter Guide.
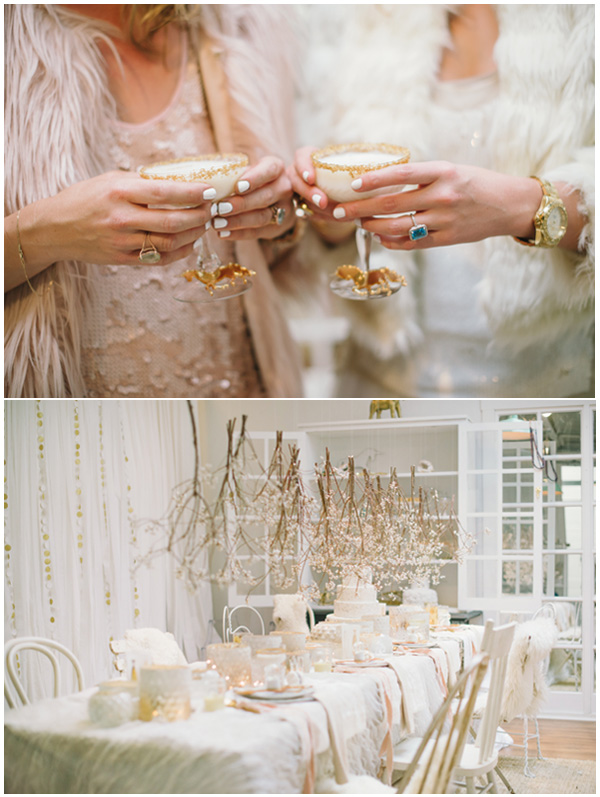
{Photography: Delbarr Moradi}, {Styling: Sitting in a Tree + Modern Sequins}, {Concept: Glitter GuideSitting in a Tree}, {Flowers: Natalie Bowen Designs}, {Chairs: One True Love Vintage}, {Linens: La Tavola}, {Makeup & Hair: 1011 Makeup}, {Desserts: Pretty Please SF}, {Wine: One Hope Wine}, {Invitation & Unicorn Poster: Kelli Murray}, {Plastic Unicorn Cutouts: Pitbulls & Posies}, {Glassware & Plates: Frances Lane}, {Studio & Jewelry: Margaret Elizabeth}, {Glitter Garland Photo Backdrop: Striped Cat Studio}, {Models: All mentioned above except Caitlin Flemming + Julia Hengel}

Thursday
Sep262013

lights above.

My dream is to cover an entire ceiling with light bulbs, ala the Gramercy Park Hotel, for a party.  I mean, does it really get any better than that?  Those images (seen in the bottom photos) have been forever etched in my mind.  And really, any sort of canopy of lights is high on my list of party must-haves.  Pretty, lighting just really sets the mood for an amazing time!

{lights}, {umbrellas}, {bulbs}

Tuesday
Jul092013

flying florals.

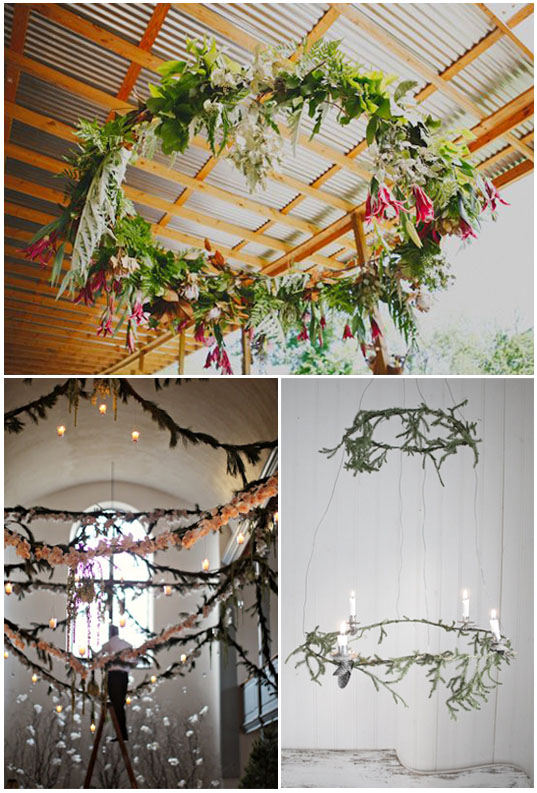
I'm more then a bit obsessed with florals hanging overhead.  How amazing would it look to create something like this for a party?!?  Just adds the right amount of drama and pretty.  

p.s. I started the Pressed Juicery 3-day cleanse today and am already loving it.  More details after I finish.

{wreath}, {strands}, {chandelier}

Tuesday
Feb192013

diy tablecloth.

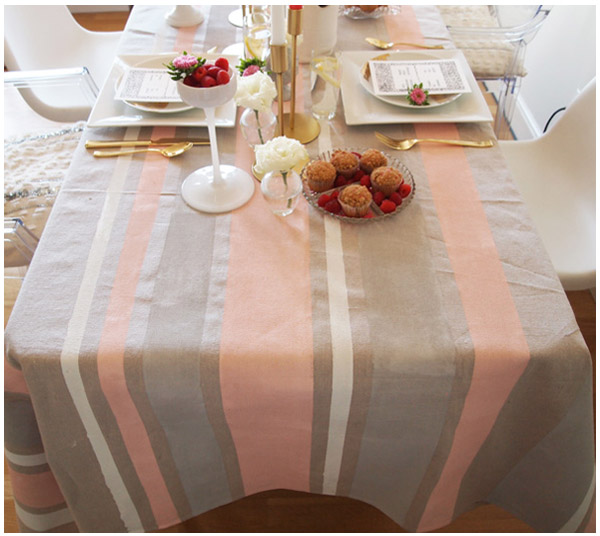
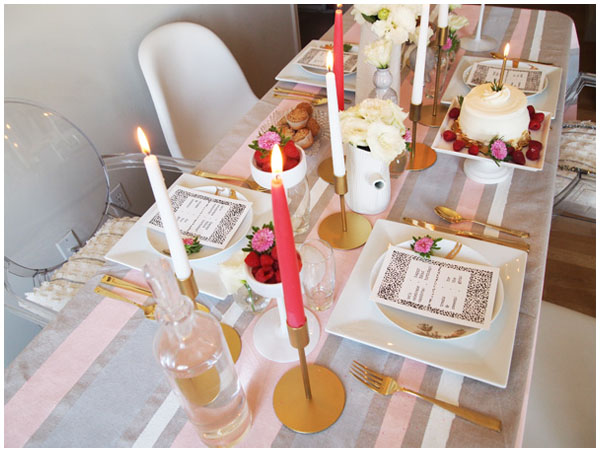
I hope you guys all enjoyed checking out the tabletop I put together over on Alison Events yesterday.  So today I wanted to share with you how I made that tablecloth.  I spotted this tablecloth on Anthropologie's site and instantly fell in love, but not with that $228 price tag.  So I used it as inspiration to create my own.  

supplies:

-1 canvas drop cloth (I bought mine at Home Depot for $24).  The size is up to you, but I wanted one that covered an 8' table, so I bought one that was 9' x 12' and then cut it down to size.

-paint.  I used regular old interior house paint from Home Depot.

-a small roller, paint brush, paint containers, a plastic drop cloth (larger size then your canvas drop cloth), blue painters tape.

what to do:

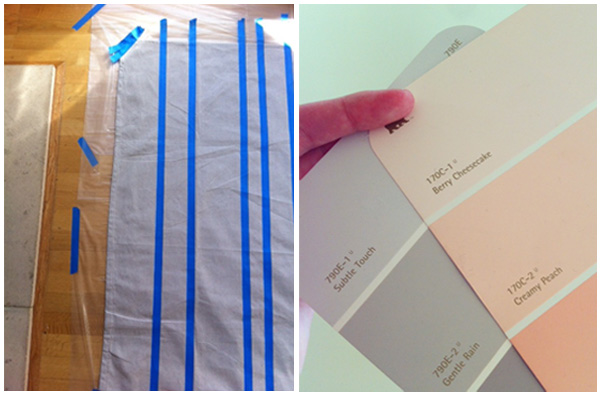
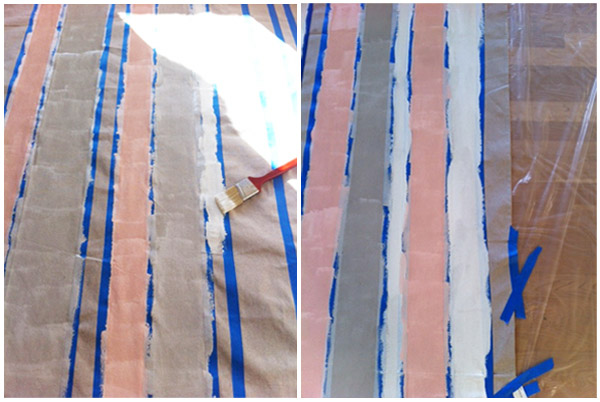
-The ideal location to paint your drop cloth would be a garage or outdoor space, but if you live in a small space like I do, you can still make it work.  First I cut the drop cloth down to the desired size (I literally placed it over the 8' table I wanted to use it on, decided how much I wanted it to drape, then cut).  I put a large plastic drop cloth down first to protect our hardwood floors.  Then I put the cloth drop cloth down and taped it down so it wouldn't shift around.  Also, I opened up all of my windows to make sure I had plenty of circulation.

-Next step is to tape off your drop cloth.  If you want to be precise you can use a ruler, but I wanted the finish product to look a bit random so I just eye balled the taping.  I just readjusted things as I placed the tape until I liked the look.  I also wanted the sizes of the stripes to be very random so I made sure the stripes were all slightly different sizes.

-Once everything is taped off (which by the way, this was the longest step in the process) then it's time to paint.  I chose three different colors (behr creamy peach, behr gentle rain & white).  Before painting I chose which stripe would be which color (again I didn't want two of the same colored stripes to be right next to one another, so by choosing in advance, I made sure that the final product was random looking).

-Let the drop cloth dry (I let mine dry overnight).  Once it's dry, remove the painters tape and it's ready to be used.  YAY!  Hope you enjoyed this little diy project.  Super simple, yet it creates a big impact.

Monday
Feb182013

a birthday celebration.

I am so so so excited to be sharing this fun and girly celebration I put together.  The girls at Alison Events asked me to create a post about styling a tabletop.  So head on over there today to see my version of throwing a friend the perfect little birthday party.  And check back here tomorrow, as I'll be sharing how I made that tablecloth.  Enjoy!